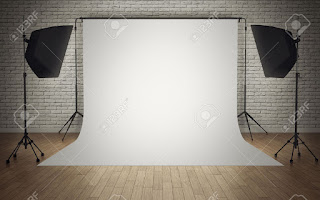
For this session we were introduced to the DSLR camera and studio lighting. This will help us when we come to shoot our photography for our magazines and to adapt it to our Front cover, contents and DPS to achieve good quality images and professional looking photography.
The technique uses three lights called the key light, fill light and back light. Naturally you will need three lights to utilise the technique fully, but the principles are still important even if you only use one or two lights.
We learnt that within the studio there were 3 lights set up.
 Key Light
This is the main light. It is usually the strongest and has the most influence on the look of the scene. It is placed to one side of the camera/subject so that this side is well lit and the other side has some shadow.
Fill Light
This is the secondary light and is placed on the opposite side of the key light. It is used to fill the shadows created by the key. The fill will usually be softer and less bright than the key. To achieve this, you could move the light further away or use some spun. You might also want to set the fill light to more of a flood than the key.
Rim light (Back Light)
 The backlight is placed behind the subject and lights it from the rear. Rather than providing direct lighting (like the key and fill), its purpose is to provide definition and subtle highlights around the subject's outlines. This helps separate the subject from the background and provide a three-dimensional look.
A backdrop and the lighting will work together to create a quality picture. When you have the proper type of lighting for your subject that complements your background you can highlight aspects of your subject including facial expressions, hair color and skin color.
The main room lights should be off at all times when taking photos. The model should be standing 3-4 feet away from the backdrop, this is so they don't blend in.
On each light there's a lamp level numbered 1-6. Number one being very dim and 6 being over exposed. Number 3 is just the perfect number to start with but may be adjusted depending on the models height and what they are wearing.
The view finder allows one to adjust the zooming, with 18 being the lowest and 105 the closes.

No comments:
Post a Comment